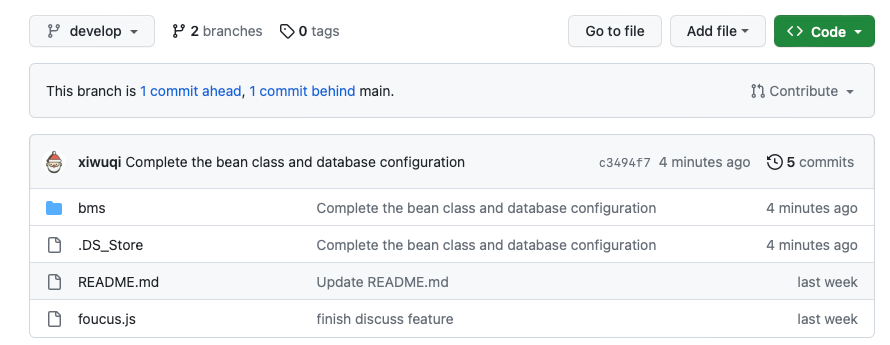
到这一步就已经完成了协同工作的基本流程
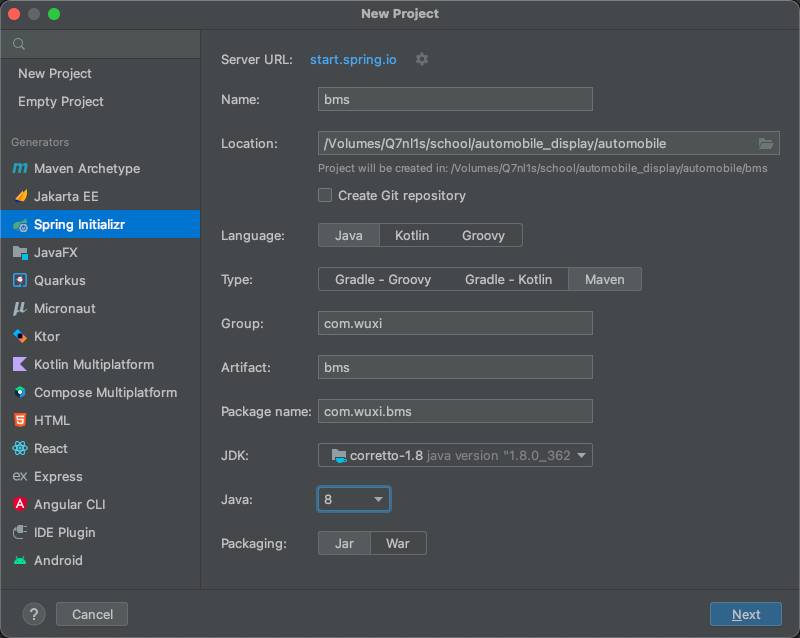
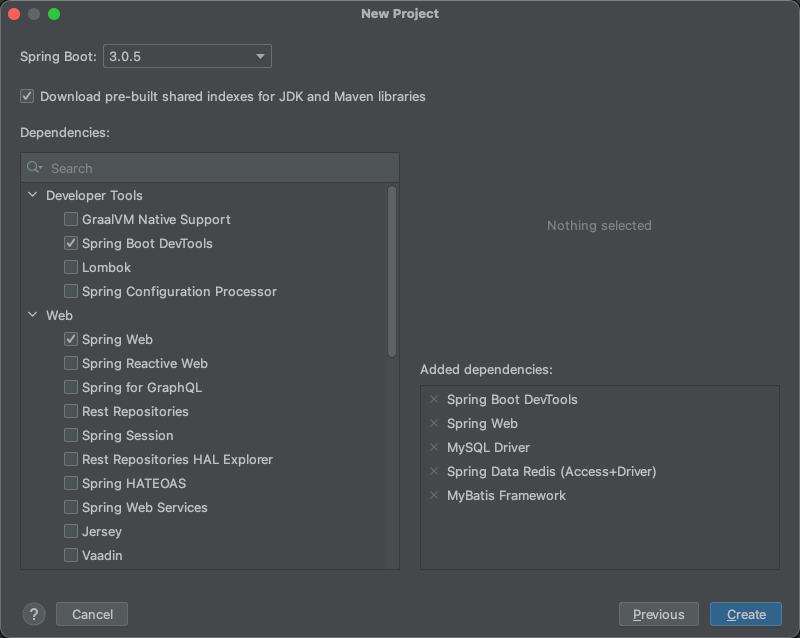
开始搭建 SpringBoot Web 项目
1
2
3
4
5
6
7
8
9
10
11
12
13
14
15
16
17
18
19
20
21
22
23
24
25
26
27
28
29
30
31
32
33
34
35
36
37
38
39
40
41
42
43
44
45
46
47
48
49
50
51
52
53
54
55
56
57
58
59
60
61
62
63
64
65
66
67
| <?xml version="1.0" encoding="UTF-8"?>
<project xmlns="http://maven.apache.org/POM/4.0.0" xmlns:xsi="http://www.w3.org/2001/XMLSchema-instance"
xsi:schemaLocation="http://maven.apache.org/POM/4.0.0 https://maven.apache.org/xsd/maven-4.0.0.xsd">
<modelVersion>4.0.0</modelVersion>
<parent>
<groupId>org.springframework.boot</groupId>
<artifactId>spring-boot-starter-parent</artifactId>
<version>2.7.6</version>
<relativePath/>
</parent>
<groupId>com.wuxi</groupId>
<artifactId>bms</artifactId>
<version>0.0.1-SNAPSHOT</version>
<name>bms</name>
<description>bms</description>
<properties>
<java.version>1.8</java.version>
</properties>
<dependencies>
<dependency>
<groupId>org.springframework.boot</groupId>
<artifactId>spring-boot-starter-data-redis</artifactId>
</dependency>
<dependency>
<groupId>org.springframework.boot</groupId>
<artifactId>spring-boot-starter-web</artifactId>
</dependency>
<dependency>
<groupId>org.mybatis.spring.boot</groupId>
<artifactId>mybatis-spring-boot-starter</artifactId>
<version>3.0.1</version>
</dependency>
<dependency>
<groupId>org.springframework.boot</groupId>
<artifactId>spring-boot-devtools</artifactId>
<scope>runtime</scope>
<optional>true</optional>
</dependency>
<dependency>
<groupId>com.mysql</groupId>
<artifactId>mysql-connector-j</artifactId>
<scope>runtime</scope>
</dependency>
<dependency>
<groupId>org.springframework.boot</groupId>
<artifactId>spring-boot-starter-test</artifactId>
<scope>test</scope>
</dependency>
</dependencies>
<build>
<plugins>
<plugin>
<groupId>org.springframework.boot</groupId>
<artifactId>spring-boot-maven-plugin</artifactId>
</plugin>
</plugins>
</build>
</project>
|
java: 无法访问org.springframework.boot.SpringApplication解决办法
https://blog.csdn.net/qq_51447496/article/details/128279192

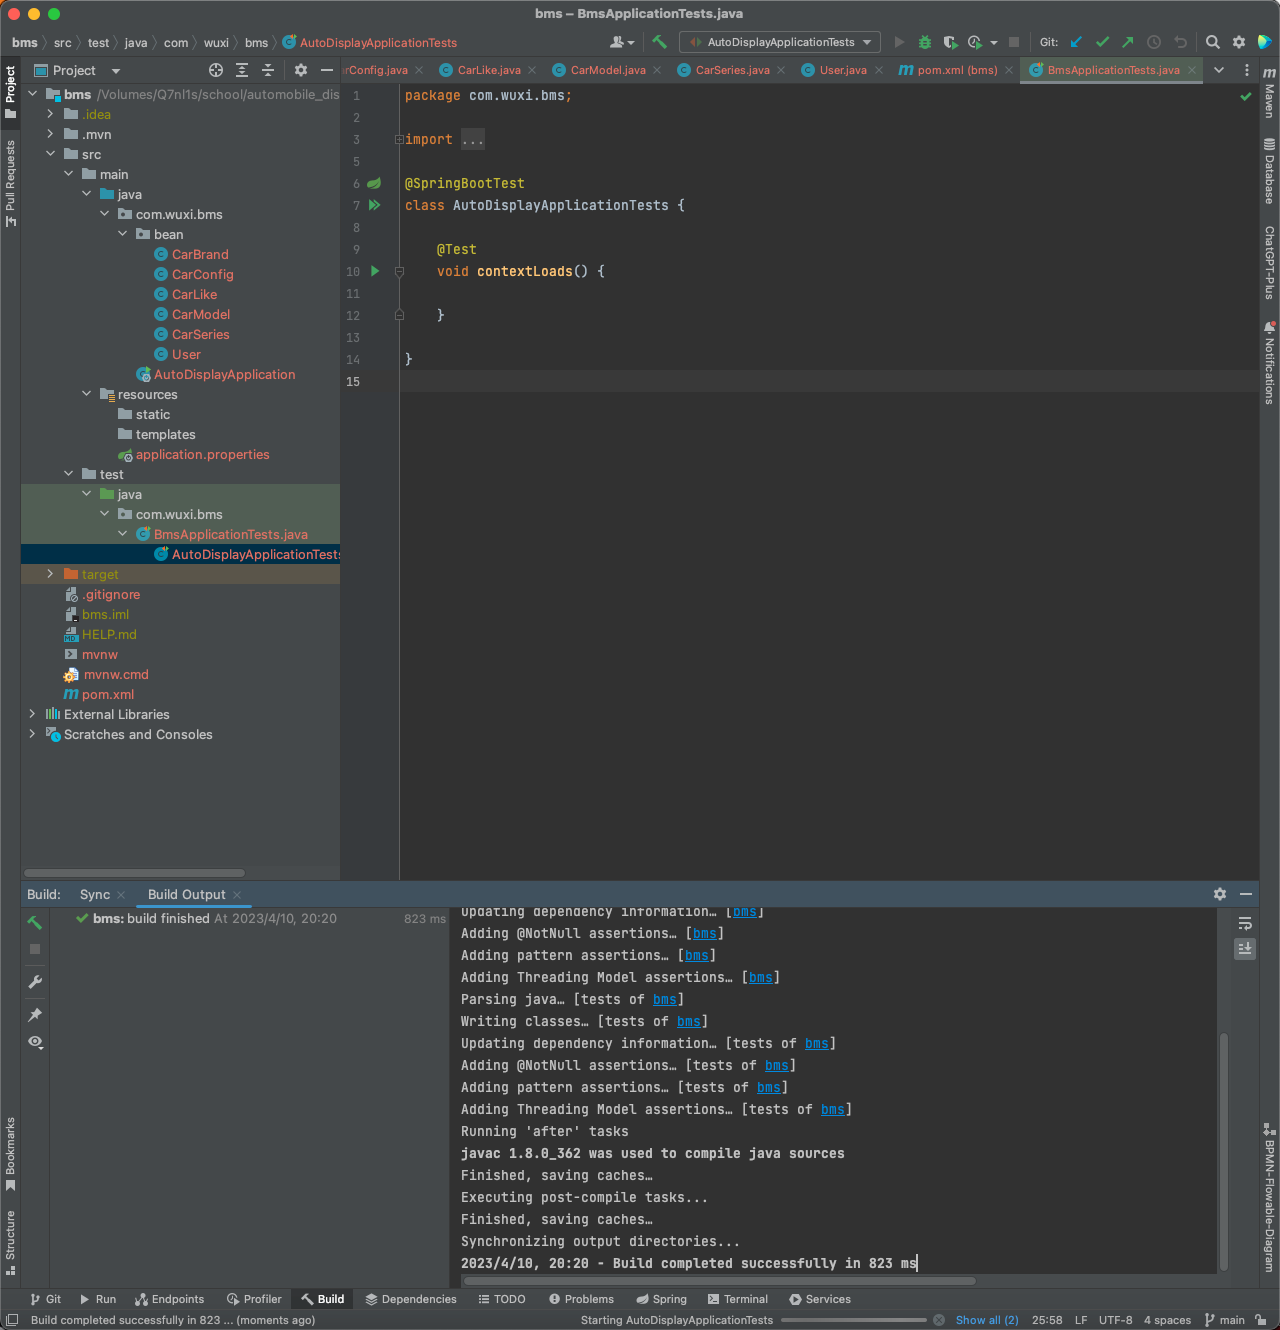
写完bean层后先跑一下看看项目有没有错
发现报错:Cannot load configuration class: org.mybatis.spring.boot.autoconfigure.MybatisAutoConfiguration
解决:就是无法加载配置类mybatis,为什么无法加载,就需要去看pom文件的mybatis依赖有没有写错,以及版本
https://blog.csdn.net/wang_he_qing/article/details/102720695

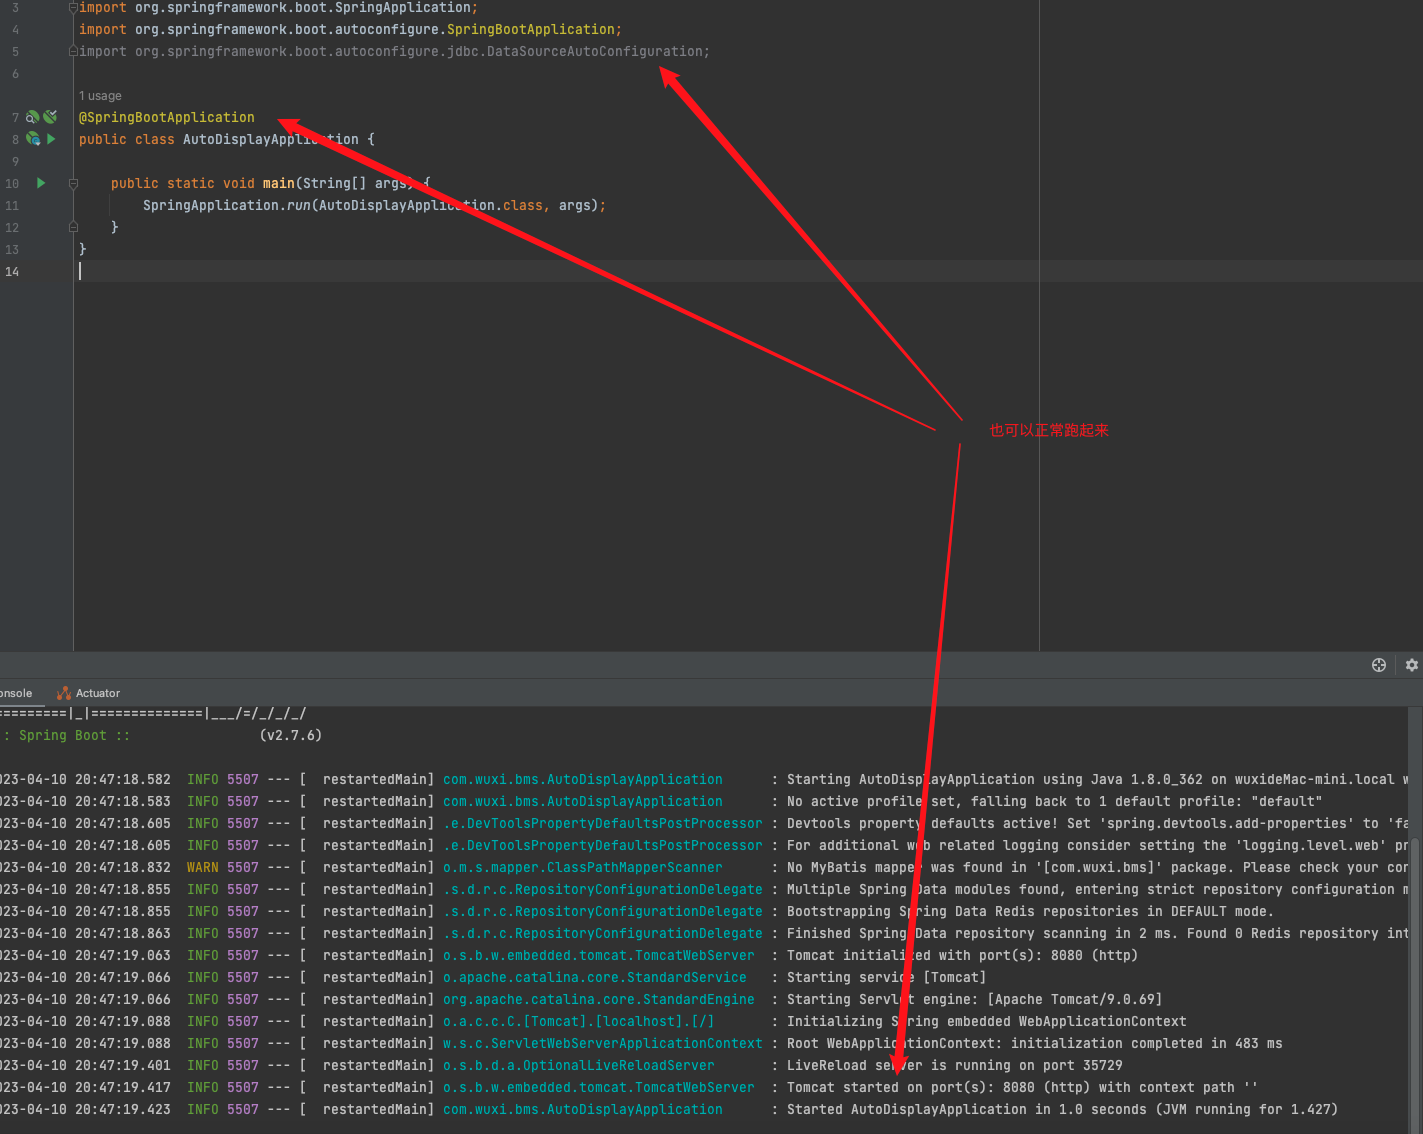
项目一开始并不需要数据库
彻底解决Failed to configure a DataSource: ‘url‘ attribute is not specified and no embedded datasource_renkai721的博客-CSDN博客
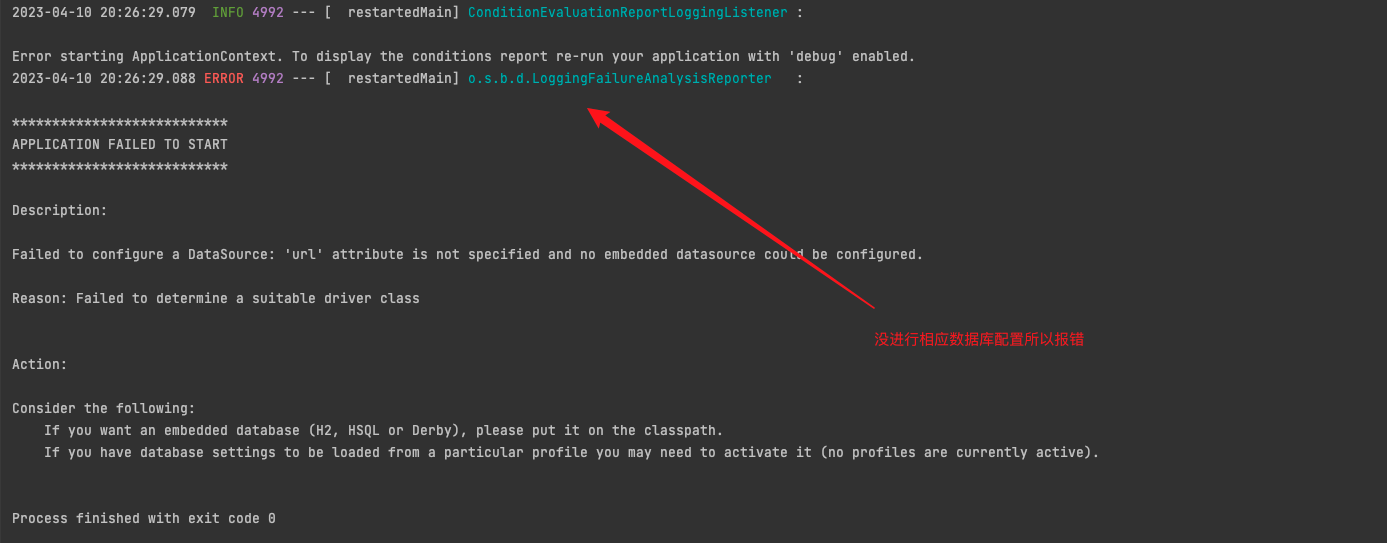
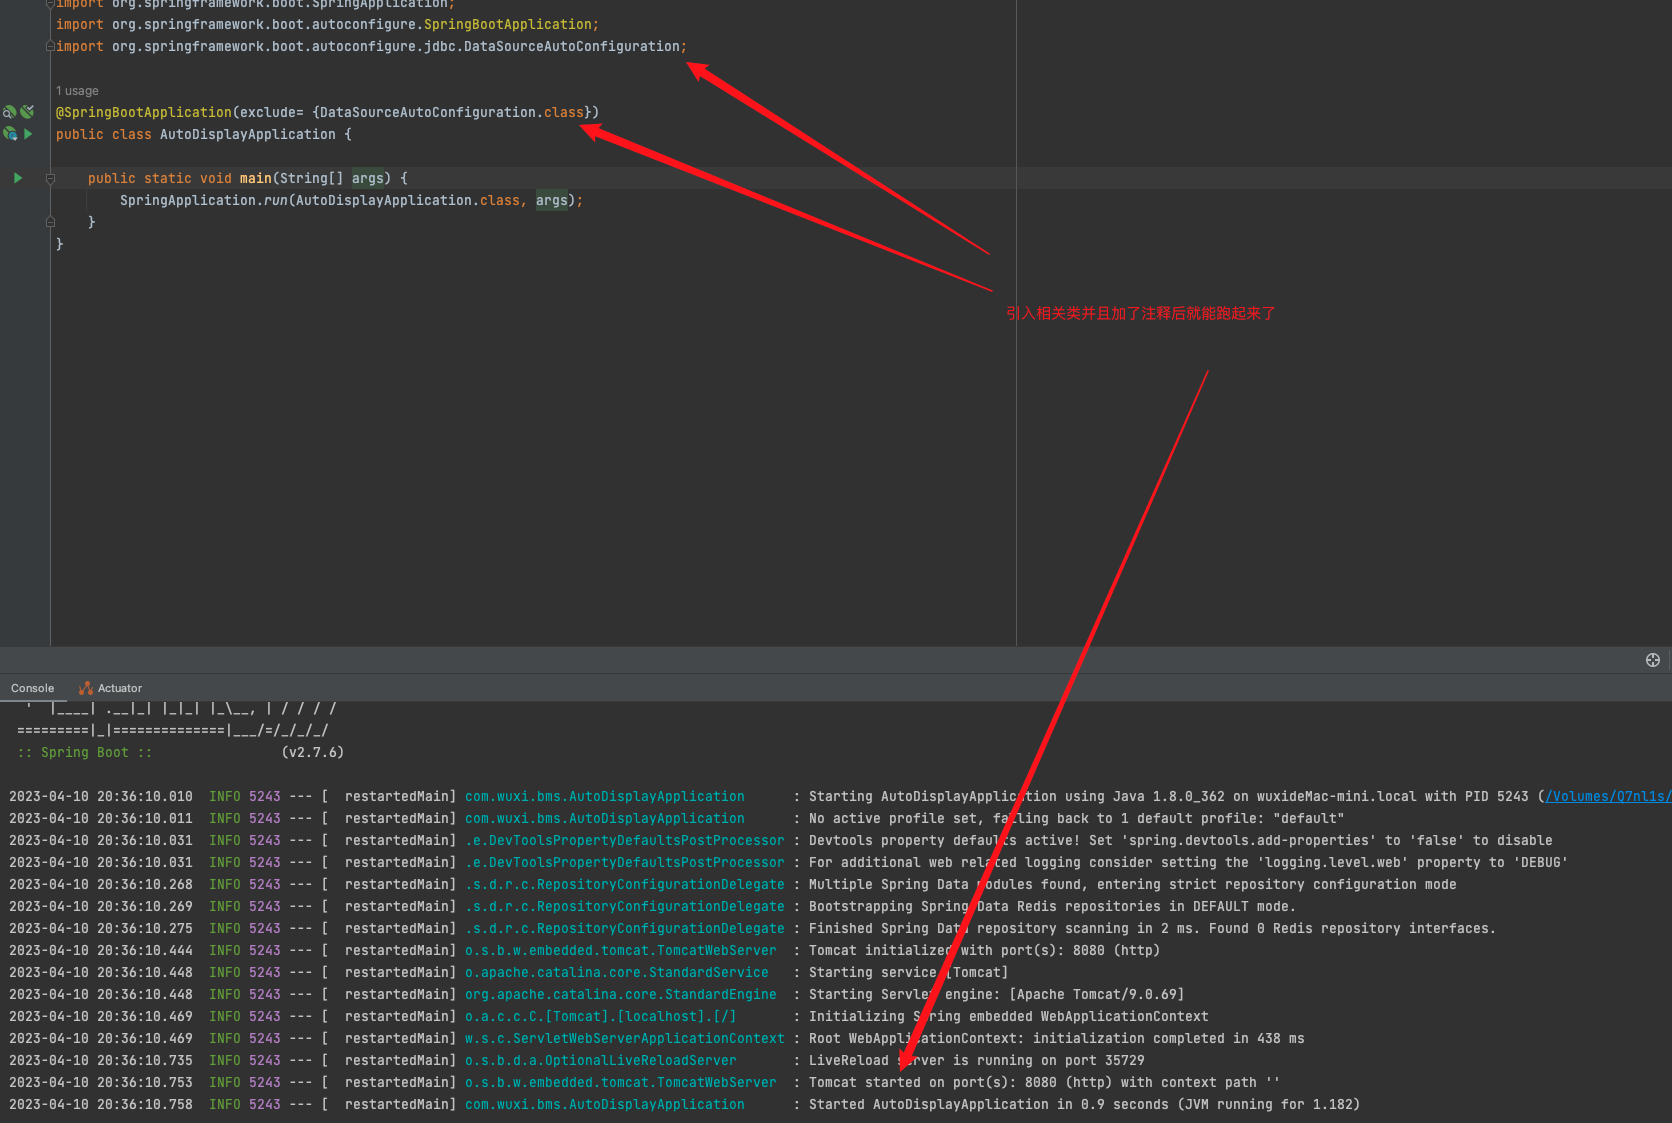
项目不需要连接数据库,启动报错,只要在将 @SpringBootApplication 修改为 @SpringBootApplication(exclude= {DataSourceAutoConfiguration.class}) 就可以启动的时候不需要连接数据库。
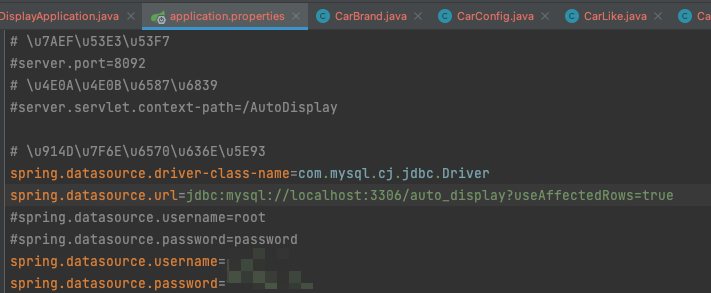
需要连接数据库,启动报错
在 application.properties 中添加如下配置:
1
2
3
4
5
6
7
|
spring.datasource.driver-class-name=com.mysql.cj.jdbc.Driver
spring.datasource.url=jdbc:mysql://localhost:3306/auto_display?useAffectedRows=true
spring.datasource.username=
spring.datasource.password=
|
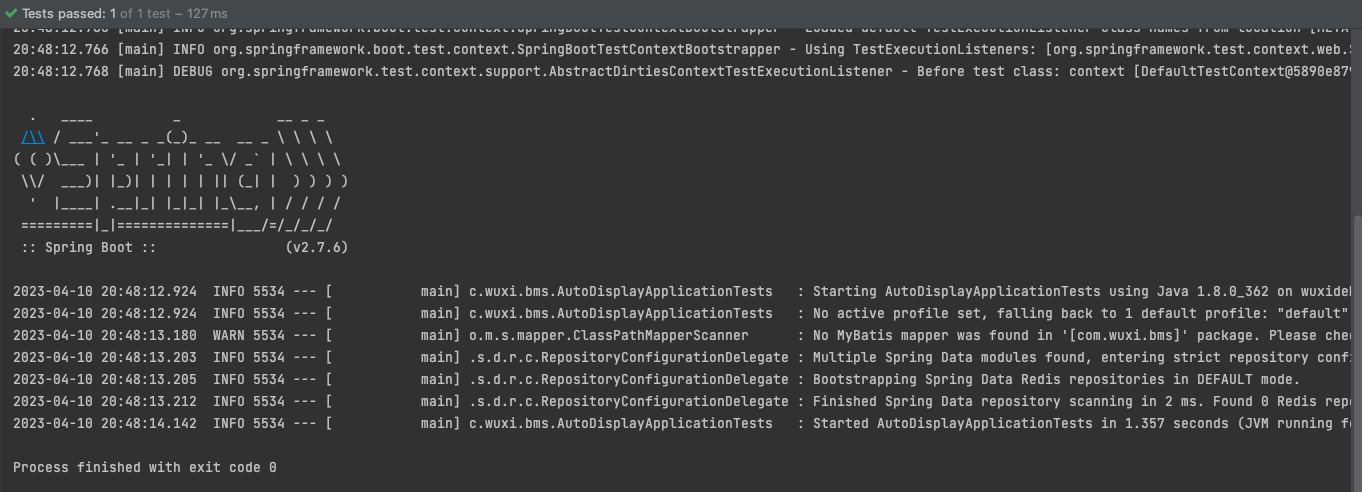
Test类也可以正常使用
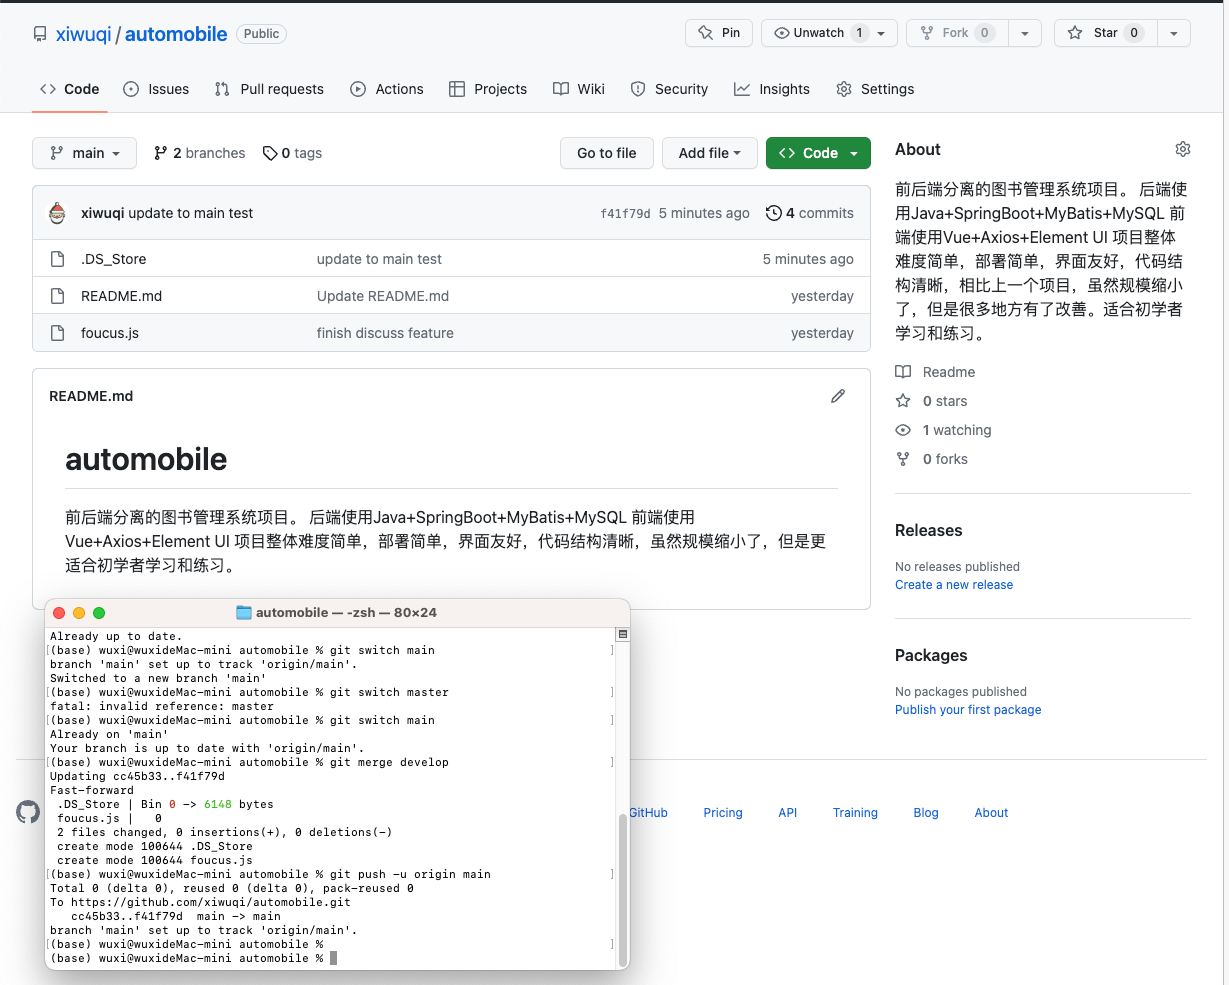
切换分支
向本地库所有未添加的文件都进行添加
向远程仓库的主分支推送文件
推送之前记得先拉取一下远程仓库的代码
拉取命令:
1
| git pull --rebase origin develop
|
推送命令:(如果推送不上去则给终端上代理即可)
1
| git push -u origin develop
|
完成推送